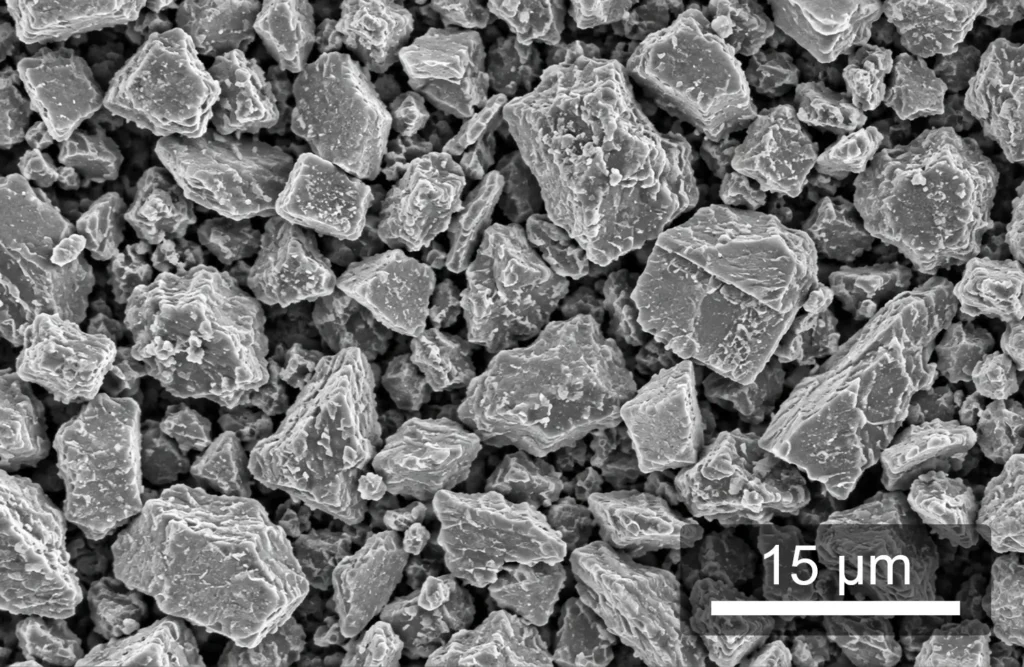
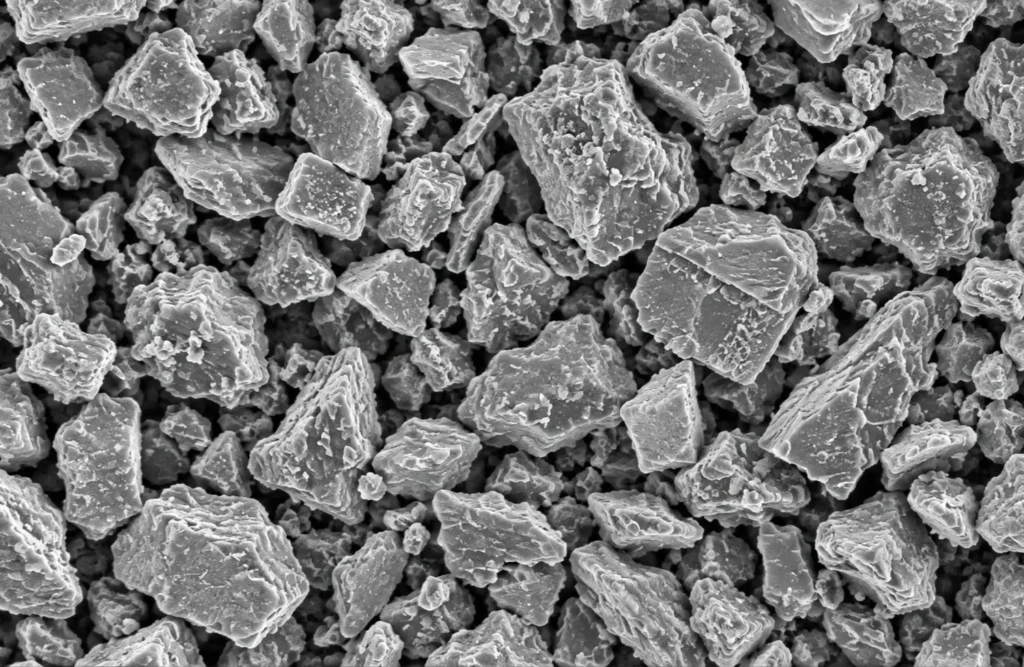
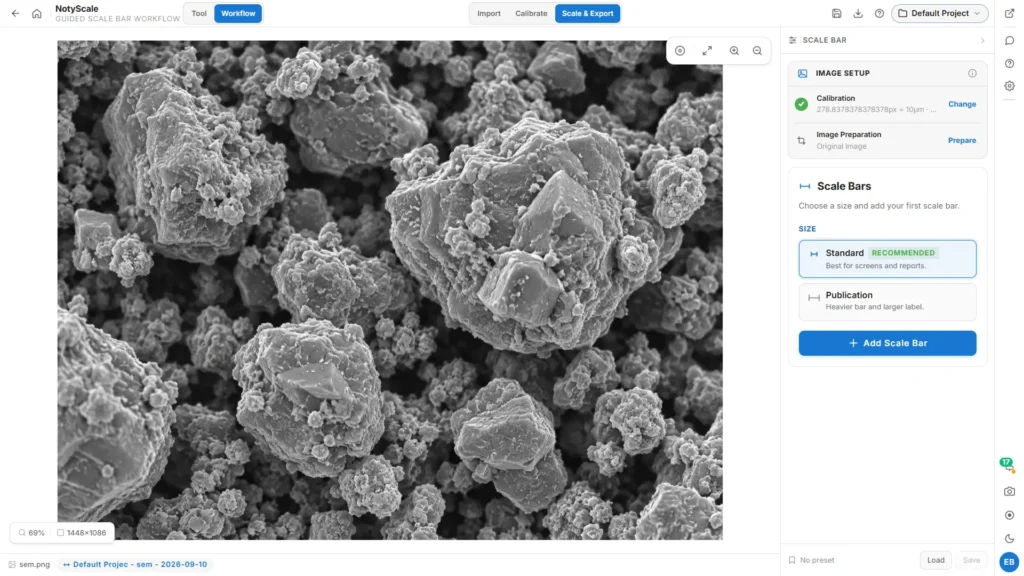
Compare the original microscopy image with the same image after adding a scale bar in NotyScale.
NotyScale Free
Online Scale Bar Maker for SEM, TEM & Microscopy Images
Add accurate, customizable scale bars to SEM, TEM, and optical microscopy images online. Calibrate using a known reference, adjust the scale bar length, style, and position, and export your scientific figure. No installation required.
- Works in browser ? Calibration-based ? Free PNG/JPEG exports ? Sign in to export
How to Add a Scale Bar to a Microscopy Image Online
-
Step 1
Upload your image
Open your SEM, TEM, or optical microscopy image in NotyScale.
-
Step 2
Calibrate the image
Use an existing scale bar, a known reference distance, or verified calibration data to establish the physical scale.
-
Step 3
Add and customize the scale bar
Choose the length and unit, adjust the style and position, and export your image.
Watch How to Add a Scale Bar with NotyScale
Features & Customization
Calibrated bars
Choose a real distance and unit from the image calibration.
Figure styling
Adjust the bar, label, colors and placement; reuse saved styles.
Guided preparation
Follow the scale-bar workflow and export the prepared image.
Add a scale bar without losing the image scale
A scale bar should tell the reader how large a feature is, not simply decorate the image. NotyScale uses the calibration attached to your image to connect pixels with a real distance. You can then choose a useful bar length, check the unit, adjust the presentation and export the result from one workspace.
This avoids the common manual workflow of drawing an approximate line, typing a label separately and hoping they still agree after the image is resized. The original image remains your reference while the scale bar is prepared for the final figure.
What you can control
Start from the scientific meaning: select the calibration, physical length and unit. Then shape the presentation around the image instead of covering important structures.
- Choose Classic, Bar or Ruler according to the figure and the amount of detail the reader needs.
- Set horizontal or vertical direction, length, thickness and exact placement.
- Show or hide the label and adjust its font, size, offset and position.
- Set bar, label and background colors for clear contrast on light or dark regions.
- Save a successful appearance as a preset when several figures need the same visual language.
Read the full guide: workflow, export checks and limitations
Verify the image scale
Check the source image calibration before adding a physical scale bar.
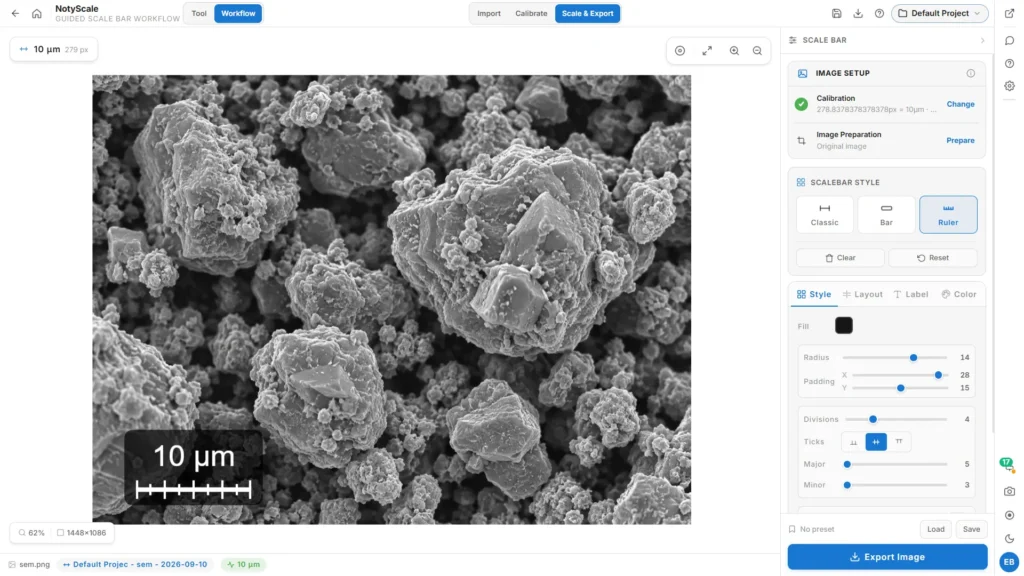
Edit the scale bar in NotyScale
Adjust the scale bar and preview the result in the editor.
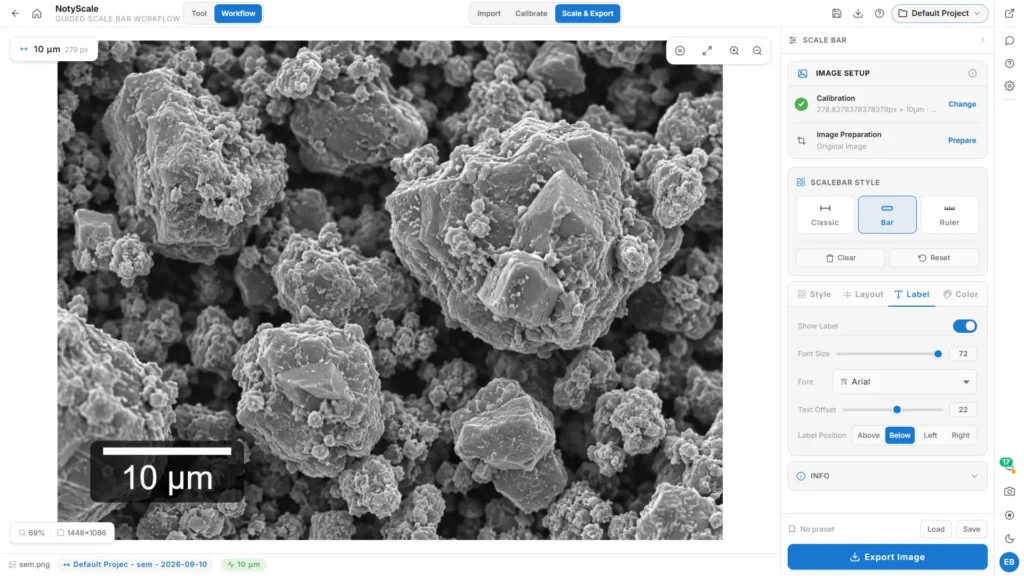
Keep the label readable
A correct bar can still fail if its label becomes too small at publication size. The Label panel keeps the typography controls together: font, size, offset and placement above, below, left or right of the bar. Preview the image at the size your reader will actually see. Avoid placing the label over a high-detail region, and prefer a clear unit symbol such as µm or nm instead of an ambiguous abbreviation.
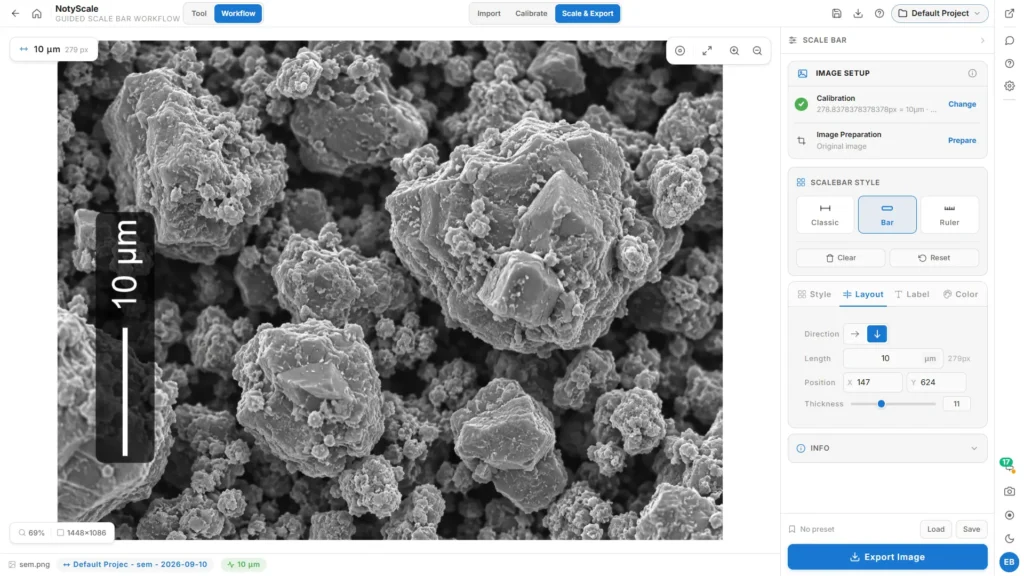
Place the bar precisely
Use the Layout panel when a rough drag is not accurate enough. Direction, length, X/Y position and thickness can be adjusted numerically while the canvas shows the result. Keep a consistent margin from the image edge and leave structures needed for interpretation unobstructed. If you reuse a preset, recheck placement for every image because the useful empty area may change even when the visual style does not.
A short workflow
- Load the original image and select its attached calibration. If no reliable calibration exists, create or verify one before choosing a physical unit.
- Add a scale bar, select its physical length and choose Classic, Bar or Ruler. Position it where it remains visible without hiding evidence.
- Adjust the label and colors, then inspect the image at the intended output size. Check the number, unit and contrast rather than judging only the editor view.
- Export the prepared image or save the result to NotyLibrary. Open the exported file once and confirm that the bar is still sharp, readable and correctly placed.
Check these details before export
- The calibration belongs to this exact source image and acquisition scale.
- The displayed length and unit match the value you intend to report.
- The bar and label have enough contrast against their immediate background.
- The label remains legible after the figure is resized for a journal, slide or poster.
- The bar does not cover a feature that readers need to inspect.
- The output dimensions, DPI and file format match the destination.
Output you can keep
NotyScale is free to use. Export your prepared image or save the result to NotyLibrary. Sign in to export or save. Keep the unmodified source and its calibration alongside the export so the figure can be checked or recreated later.
Limitations
- Without calibration, NotyScale remains in pixel mode. A pixel bar is useful for layout testing but does not report a physical distance.
- Calibration is image-specific. A simple crop without resampling does not change the physical scale per pixel, but resizing or resampling can change it. Verify the calibration after resampling or changing magnification.
- NotyScale does not decide which physical length is scientifically appropriate for your figure; the author must choose a value that is accurate and readable.
- A raster export bakes the bar into the image. Resize the complete image proportionally afterward; never resize or redraw the bar independently.
- Export and NotyLibrary save require authentication, and available storage or usage allowances may vary by plan.
Continue your work
Use Cases
SEM images
Add a calibrated bar to scanning electron micrographs so feature sizes read correctly at publication size.
TEM images
Label transmission electron micrographs with a bar that matches the verified calibration of the source image.
Optical microscopy
Prepare brightfield, fluorescence and other optical microscopy images with a consistent, readable scale bar.
Frequently Asked Questions
Is NotyScale free?
Yes. NotyScale is free to use. Sign in to export or save your result.
Can I add a scale bar to an SEM image online?
Yes. Upload your SEM image, verify its calibration, customize the scale bar, and export your figure.
Does NotyScale work with TEM images?
Yes. It supports calibrated TEM images, including nanoscale units such as nm.
Can I add an accurate scale bar without calibration?
A physical scale bar requires a reliable reference or calibration. Without one, NotyScale cannot determine the real-world distance represented by the pixels.
Can I use NotyScale without installing software?
Yes. NotyScale runs in your browser. Signing in is required to export or save your result.
Ready to add a scale bar to your image?
Open the guided workflow, calibrate once, and export a clean, publication-ready figure.
Add a Scale Bar Free- Works in browser ? Calibration-based ? Free PNG/JPEG exports ? Sign in to export
NotyScale
Add a Scale Bar Free