Adding a scale bar to an SEM image should be quick, accurate, and easy to repeat. If your image already contains a visible reference scale bar, or if you have a trusted reference image, you can create a saved calibration, apply it in NotyScale, and export a clean final image without opening ImageJ or Fiji.
In this tutorial, you will learn how to add a scale bar to an SEM image using NotyScale and NotyCalibration. This workflow is useful for researchers, students, lab users, and anyone preparing microscopy figures for papers, theses, reports, posters, or presentations.
Applies To
| Item | Details |
|---|---|
| Product | NotyScale and NotyCalibration |
| Image type | SEM images, TEM images, optical microscopy images |
| Main task | Add a scale bar to a calibrated microscopy image |
| Difficulty | Beginner |
| Output | Image with a burned-in scale bar |
| Recommended for | Research papers, theses, lab reports, presentations |
Before You Start
Before you add a scale bar to an SEM image, make sure you have one of the following:
- An SEM image that already contains a visible scale bar
- A trusted reference image that can be calibrated
- A saved calibration from a previous image with the same valid scale
- An image in your library that already has an attached calibration
Important: do not guess the scale. A scale bar is only scientifically useful when it is based on a correct calibration.
If your SEM image was resized, re-exported, or processed in another tool, confirm that the scale is still valid before you add a new scale bar.
Why SEM Image Calibration Matters
A scale bar is not only a label. It tells the reader the real size of the particles, grains, pores, coatings, layers, or microstructural features in the image.
Common units include:
- nm for nanoscale features
- µm for most SEM micrographs
- mm for larger optical or macro views
If the calibration is wrong, the SEM scale bar is wrong too. That can make the figure misleading in a paper, thesis, technical report, or comparison panel.
When NotyScale Is a Good Alternative to ImageJ
ImageJ and Fiji are powerful scientific tools. They are excellent for measurement, segmentation, plugins, macros, and advanced analysis.
But if your goal is focused and practical — calibrate an SEM image, add a clean scale bar, and export a polished figure — NotyScale can provide a faster workflow.
Use NotyScale when you want to:
- Add a scale bar to an SEM image without learning a full ImageJ workflow
- Use a cleaner calibration-to-scale-bar workflow
- Reuse saved scale bar presets
- Keep the process focused on calibration, styling, and export
- Apply consistent scale bar styling across multiple images
- Work with saved or image-attached calibrations inside the NotyLab workflow
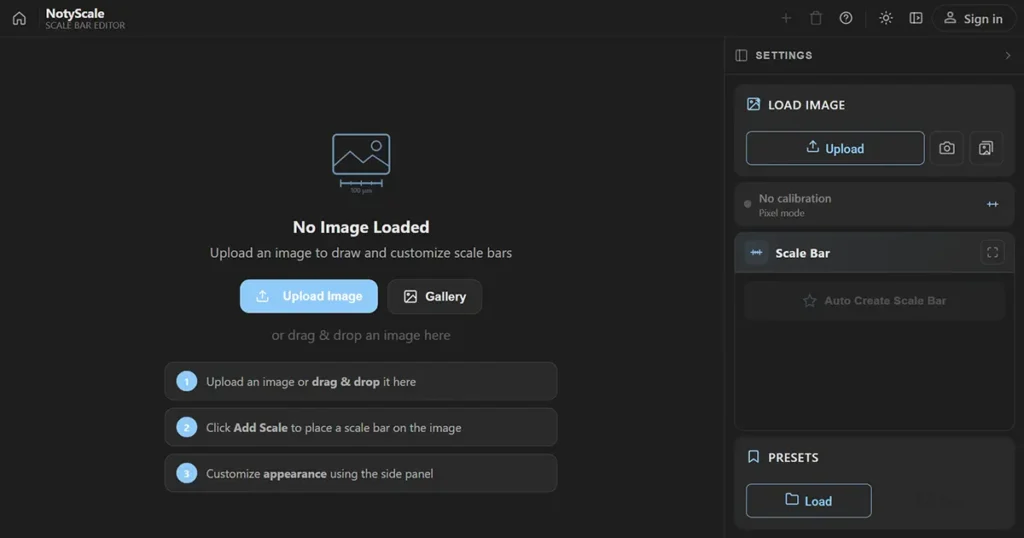
Step 1: Load Your SEM Image in NotyScale
Open NotyScale and upload your SEM image.
You can:
- Upload an image from your computer
- Load one from the library
- Drag and drop the image into the workspace
Once the image is loaded, NotyScale shows the image on the canvas and the settings panel on the right.
Step 2: Select a Calibration or Create One in NotyCalibration
This is the most important step in the workflow.
In the current NotyScale workflow, scale bar values come from a calibration. If your image already has an attached calibration, NotyScale can use it automatically. If not, click Select Calibration and choose one of your saved calibrations.
If you do not have a saved calibration yet, create it first in NotyCalibration.
How to Create a Calibration in NotyCalibration
Open NotyCalibration and load the target image.
Then choose one of these calibration modes.
Option A: Auto Detect
Use Auto Detect when it is available in your current setup and the image contains a clear scale bar.
This option is AI-assisted and may depend on your current access level and backend configuration.
Best for:
- Clear scale bars
- Standard SEM screenshots
- Fast first-pass calibration
Option B: Semi-Auto
Use Semi-Auto when the scale bar is visible but the image is noisy or crowded.
In this mode, you draw a box around the scale bar region, and the software helps detect the value and unit.
Best for:
- Noisy SEM images
- Low-contrast scale bars
- Images with text or clutter near the scale bar
Option C: Manual
Use Manual when you want full control.
In this mode, you draw a line over the known scale bar and then enter the real-world length and unit.
Best for:
- Difficult images
- Precise verification
- Cases where you want to control the exact endpoints yourself
After drawing the reference, save the calibration. You can also attach the calibration to the current image so it is easier to reuse in downstream tools like NotyScale.
Step 3: Add the Scale Bar to the SEM Image
Return to NotyScale after selecting the correct calibration.
Now click Add Scale to place a scale bar on the image.
You can also use Auto Create Scale Bar if you want NotyScale to place a reasonable starting bar automatically.
After the scale bar appears, drag it directly on the canvas to move it into position.
Typical placement is:
- Bottom-left
- Bottom-right
Choose a position that stays readable without covering important SEM features.
Step 4: Choose the Scale Bar Length
After calibration is active, set the scale bar length to a clean and readable value.
Good examples include:
- 100 nm
- 200 nm
- 500 nm
- 1 µm
- 2 µm
- 5 µm
- 10 µm
Avoid awkward values such as:
- 0.83 µm
- 3.47 µm
- 728 nm
Simple values are easier for readers to understand.
Good Visual Rule
A good SEM scale bar usually spans about 15% to 25% of the image width.
If it is too short, it can be missed. If it is too long, it may cover important microstructural detail.
Step 5: Choose the Right Scale Bar Style
NotyScale currently supports three main visual styles.
Classic
Use Classic when you want a minimal scientific look.
Typical use:
- Journal figures
- SEM and TEM images
- Clean backgrounds
Main characteristics:
- Simple line
- Optional end marks
- Text label
- Familiar scientific appearance
Bar
Use Bar when you need stronger readability.
Typical use:
- Low-contrast backgrounds
- Busy micrographs
- Figures that need a stronger visual anchor
Main characteristics:
- Bar-style container
- Background fill
- Clear label separation
- Good readability on difficult backgrounds
Ruler
Use Ruler when you want multiple divisions.
Typical use:
- Teaching figures
- Explanatory graphics
- Presentations
- Cases where tick marks improve interpretation
Main characteristics:
- Division marks
- Optional minor divisions
- Division labels
- More ruler-like appearance
For most SEM paper figures, Classic or Bar will usually be the best choice. Use Ruler when the scale bar needs to communicate divisions more clearly.
Recommended image placement: Add a screenshot here showing Classic, Bar, and Ruler style options.
Image SEO:
- File name:
notyscale-classic-bar-ruler-scale-bar-styles.jpg - Alt text:
Classic Bar and Ruler scale bar styles in NotyScale - Title:
Classic Bar and Ruler Scale Bar Styles - Caption:
Choose Classic, Bar, or Ruler style depending on the SEM image background and publication layout. - Description:
Screenshot showing the three scale bar style options in NotyScale: Classic, Bar, and Ruler.
Step 6: Adjust Position, Color, Font, and Layout
A good microscopy scale bar should be easy to read without distracting from the image.
Recommended settings for most SEM figures:
| Setting | Recommended Choice |
|---|---|
| Position | Bottom-left or bottom-right |
| Orientation | Horizontal in most cases |
| Color on dark background | White |
| Color on bright background | Black |
| Font | Clean sans-serif such as Arial or Helvetica |
| Text size | Readable at final figure size |
| Line thickness | Visible but not heavy |
| Background | Use when the image background reduces contrast |
In NotyScale, you can adjust:
- Orientation
- Length
- Position
- Line width
- Line color
- Text color
- Typography
- Label position
- Background styling
- Division settings for Ruler style
If your SEM image has a mixed background, the Bar style is often easier to read than a thin line alone.
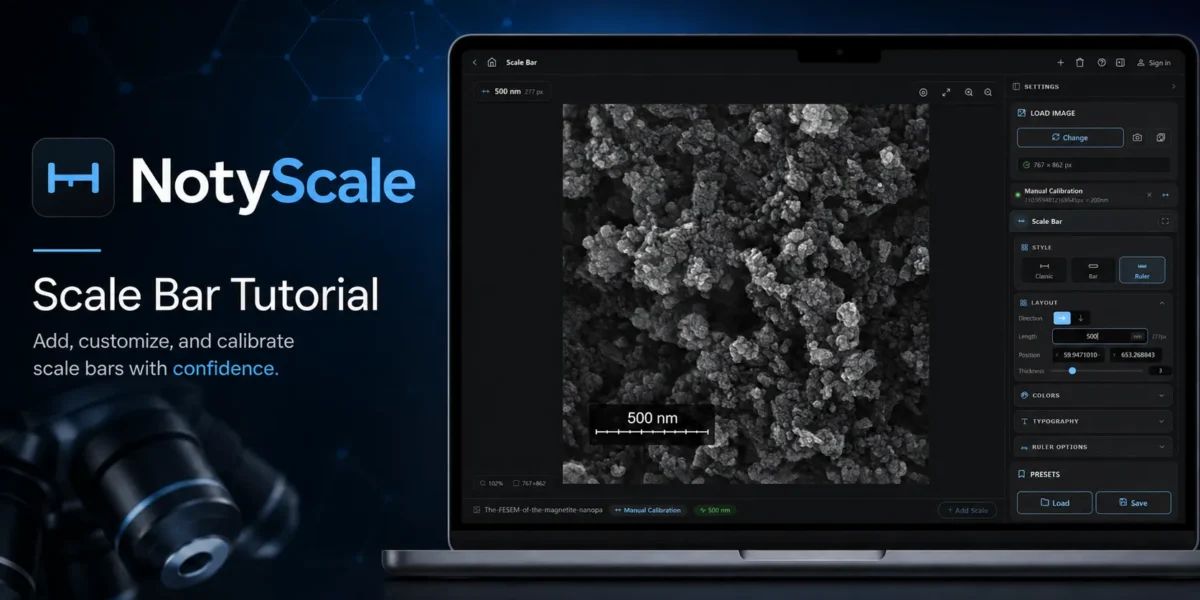
Recommended image placement: Add a screenshot here showing the final 500 nm scale bar on the SEM image.
Image SEO:
- File name:
notyscale-500nm-scale-bar-sem-image.jpg - Alt text:
500 nm scale bar added to an SEM image in NotyScale - Title:
500 nm Scale Bar on SEM Image - Caption:
A 500 nm Ruler-style scale bar applied to a calibrated SEM image in NotyScale. - Description:
Screenshot showing the final SEM image with a 500 nm scale bar added in NotyScale.
Step 7: Save the Style as a Preset
If you prepare multiple figures, save your current setup as a preset.
Presets are useful for keeping a consistent visual style across a full manuscript or thesis chapter.
A preset can help standardize:
- Scale bar type
- Font
- Text size
- Line color
- Text color
- Background settings
- Padding
- Border radius
- Division settings
- Label position
Examples of preset names:
“`text
SEM Paper White Bar Bottom Right
SEM Figure Classic Black
TEM Ruler Thin White
Presentation Scale Bar Large Label
This is one of the easiest ways to keep multi-panel figures consistent.
Step 8: Export the Final SEM Image
When the SEM image calibration and scale bar styling look correct, click Export Image.
In the current NotyScale workflow, export is intended for signed-in users.
Depending on your current account access and export settings, you can choose the output size, DPI, and available image format such as PNG or JPG.
For publication figures, PNG is usually the safest choice for crisp labels and clean edges.
Recommended export practices:
- Use PNG for final figure preparation
- Set DPI appropriately for your publication workflow
- Check readability at the final placement size
- Review the exported file before inserting it into a paper or poster
Recommended image placement: Add a screenshot here showing the export workflow.
Image SEO:
- File name:
notyscale-export-sem-image-with-scale-bar.jpg - Alt text:
Export SEM image with scale bar in NotyScale - Title:
Export SEM Image with Scale Bar - Caption:
Export the final SEM image after applying the calibrated scale bar in NotyScale. - Description:
Screenshot showing the export workflow for saving an SEM image with a scale bar from NotyScale.
Expected Result
At the end of this workflow, you should have:
- A calibrated SEM image
- A scale bar based on real units
- A readable label
- A clean visual style
- An exported figure ready for reports, papers, or presentations
The final image should look simple, professional, and immediately understandable.
Common Mistakes to Avoid
1. Adding a Scale Bar Before Calibration
Do not add a scale bar first and think about calibration later. The calibration defines the scale bar.
2. Guessing the Real Scale
Do not estimate the scale from memory or from approximate magnification. Use a valid calibration.
3. Forgetting Which Calibration Is Active
In NotyScale, confirm whether you are using:
- An attached calibration
- A selected saved calibration
- Pixel mode
If no calibration is active, the scale bar works in pixels, not physical units.
4. Using the Wrong Style for the Background
A thin white line on a bright area, or a thin black line on a dark area, will be hard to read.
5. Making the Scale Bar Too Long
A scale bar should support the image, not cover the important features.
6. Using Inconsistent Presets Across a Figure Set
If one SEM panel uses one style and another panel uses a very different one, the whole figure can look less professional.
Troubleshooting
The Scale Bar Shows Pixels Instead of µm or nm
This usually means no calibration is active. Open Select Calibration and choose the correct saved or attached calibration.
The Scale Bar Length Looks Wrong
Check the original calibration first. Reopen NotyCalibration and verify that the reference line and real-world length were entered correctly.
I Do Not See a Good Auto Result
Try Semi-Auto or Manual calibration instead. Auto Detect is fastest when it works well, but Manual gives the most control.
The Scale Bar Is Hard to Read
Use a higher-contrast color, increase line width, enlarge the font, or switch to Bar style.
I Cannot Export
In the current workflow, export is intended for signed-in use. Make sure you are logged in before exporting.
I Want to Keep the Same Style Across Many SEM Images
Save the current appearance as a preset, then load it for each new image. Keep in mind that each image still needs the correct calibration.
Related Settings
- Select Calibration: choose the saved calibration used by NotyScale.
- Attached Calibration: use the calibration attached to a library image.
- Auto Create Scale Bar: place a quick starting scale bar automatically.
- Classic, Bar, and Ruler styles: choose the right visual format.
- Typography settings: control label readability.
- Export Image: choose output size, DPI, and output format.
- Presets: keep the same style across multiple SEM images